
Installing waterproof flooring can be a game-changer, especially for areas prone to moisture like kitchens, bathrooms, and basements. It not only adds durability and longevity to your floors but also offers peace of mind against potential water damage.
However, the process of installing waterproof flooring might seem daunting at first.
Can I install waterproof flooring myself?
1. Assessing the area
Before diving into the installation process, it's crucial to assess the area where you intend to install waterproof flooring. Check for any existing damage, moisture issues, or uneven surfaces. Ensure that the subfloor is clean, dry, and level, as any imperfections can affect the final result.
2. Choosing the right flooring
There are various types of waterproof flooring available in the market, including luxury vinyl plank (LVP), ceramic tile, and waterproof laminate. Each type has its unique installation method and benefits. Consider factors such as budget, aesthetic preferences, and maintenance requirements before making a decision.
3. Preparing the subfloor
Proper preparation of the subfloor is key to a successful installation. Remove any existing flooring material and thoroughly clean the surface. Repair any cracks or imperfections, and ensure that the subfloor is level. Depending on the type of flooring chosen, you may need to install a moisture barrier or underlayment to further protect against water damage.
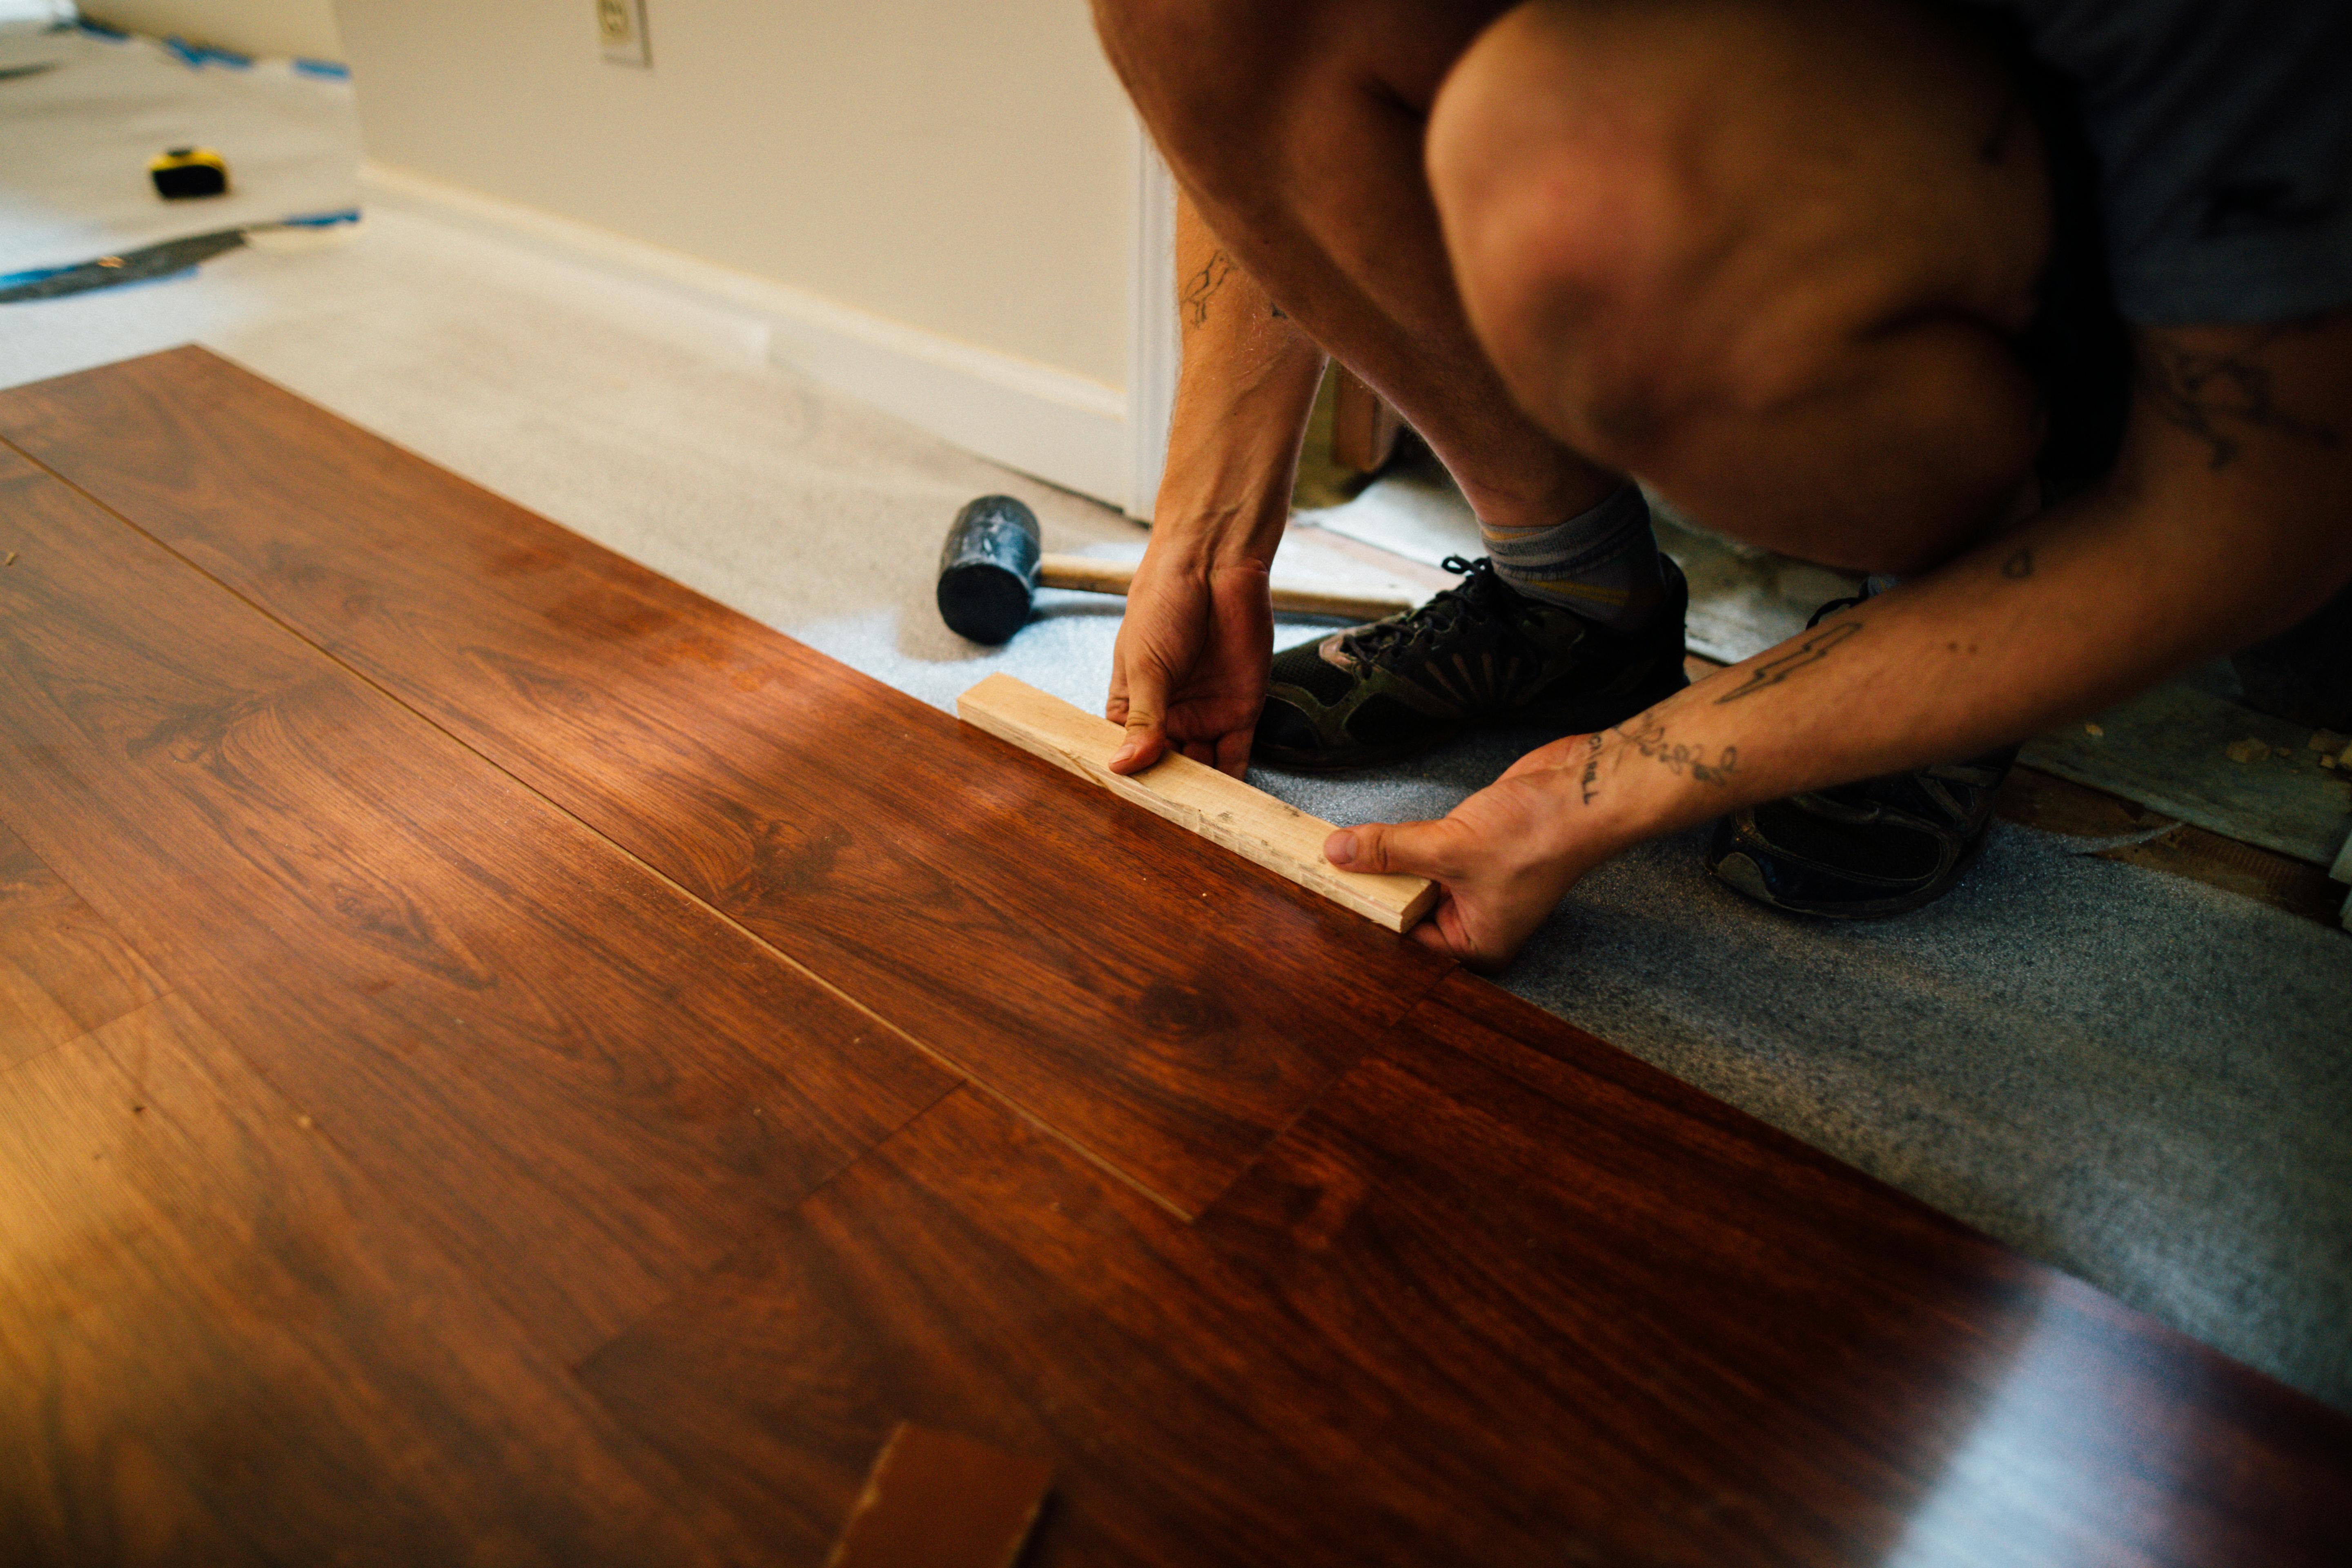
4. Installing the flooring
Follow the manufacturer's instructions carefully when installing the waterproof flooring. For click-lock systems like LVP or laminate, simply snap the planks together, starting from one corner of the room and working your way across. For ceramic tile, use a suitable adhesive and spacers to ensure even spacing between tiles. Take your time to ensure proper alignment and a snug fit.
5. Sealing the joints
One of the most critical steps in waterproof flooring installation is sealing the joints. Use a waterproof adhesive or sealant to fill in any gaps between planks or tiles, especially in high-moisture areas like bathrooms. This extra layer of protection helps prevent water from seeping between the seams and causing damage to the subfloor.
6. Finishing touches
Once the flooring is installed and sealed, allow it to cure according to the manufacturer's recommendations before moving furniture back into the room. Install any necessary trim or moldings to give the floor a polished look and further protect the edges from moisture infiltration.
We have everything you need to DIY your floor
Installing waterproof flooring is a manageable DIY project with the right tools, materials, and guidance. By carefully assessing the area, choosing the appropriate flooring type, and following the installation steps diligently, you can achieve professional-looking results while safeguarding your home against water damage. At Bougainville Flooring Super Store in Honolulu, HI, we offer a wide selection of waterproof flooring options and all the necessary accessories to help you tackle your flooring project with confidence. Visit us today and let our experts assist you in transforming your space. Don't let water worries dampen your floors – take the first step towards a waterproof future with Bougainville Flooring Super Store.
From luxury vinyl plank to laminate flooring and beyond, our knowledgeable staff can help you find the perfect flooring solution for your space. And with our convenient location serving Pearl City, Waipahu, Mililani, Aiea, Kapolei, and Ewa Beach, HI, it's easier than ever to stop by and see our selection for yourself.
So why wait? Visit Bougainville Flooring Super Store today and take the first step towards transforming your home with waterproof flooring. Your dream floor is within reach, and we're here to help you make it a reality.


